Friday, February 12, 2016

Modeling out the William Tell Armor

Update:

After watching the video, I got a good idea and concept of hard surface modeling. I modeled out a couple of pieces.

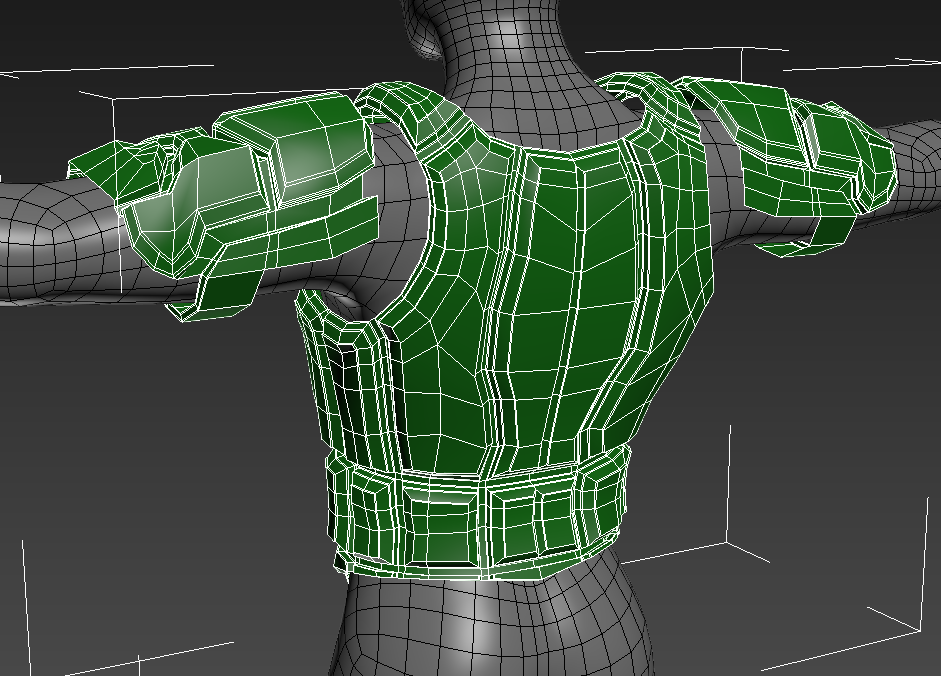


After receiving some critiques on my concepts, I can start working on modeling out the armor for the William tell armor. I decided to try to take elements of the concepts and model out armor pieces. I'm trying to maintain the style but give it a futuristic look to it. It's a little challenging because I never really liked modeling out hard surfaces since I've had difficulties with it in the past; I prefer organic modeling. I looked at some tutorials to see if I can get a better understanding of hard surface modeling.

Hard Surface Essentials.

Monday, February 8, 2016

Creating the Concepts

After doing research. I created several concepts for the William Tell character. I used the real-life references as my influence. I focused more on the type of armor and design of the armor than the color. Also, I realized that we want a futuristic look, but that can be accomplished through the model/texturing.


Thursday, February 4, 2016

Researching Armor References

The art team is doing a bit of back peddling. We're starting with coming up with concepts for the crossbowman/rocket man. We had some concept art from the previous semester, but a lot of them weren't used. Also, there wasn't much direction when we created the original concepts. By redoing this step, hopefully we'll have a more streamline art style. I'm focusing on the William Tell character, and primarily researching armor from that era. Then once I have some good references, I can start making concepts. Here are several examples I found.


Thursday, January 28, 2016

Making a Base Mesh

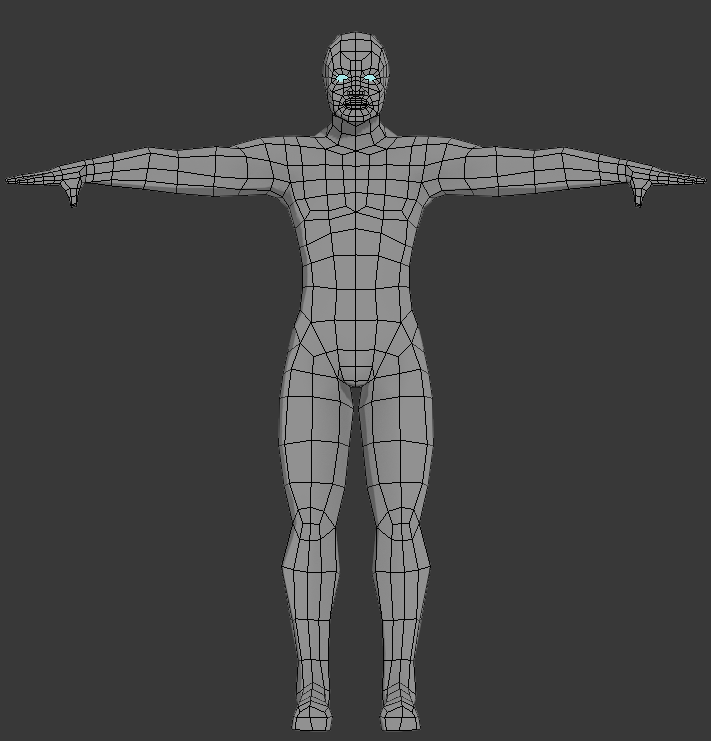
Over winter break, I had practiced my modeling a little. I created a low poly male base mesh. Previously, we had only created armor pieces and skinned them to a biped system. The main issue with that was that if any part of armor wasn't covering something, the result would be an invisible body. The crossbowman was a prime example since the helm was merely a hat. Since we didn't have a mesh underneath, the entire head/neck area was invisible. The new mesh will fix any issue of that invisibility.


Friday, January 22, 2016

Stepping Back a Little

The semester has started and we're going right into it. Last semester was a bit hectic. I think we'll be planning on redoing a lot of the art assets/models. The ones from last semester were ok; not horrible, but great either. This first week I'm going to have the art team rework our pipeline. D'Merro came up with a concept pipeline over the break so we'll be testing it out. Primarily, we're just going to make sure we can get from a 2d concept to a 3d model/animations; we want to get these into the game engine smoothly.

D'Merro's pipeline outline (His blog)
concept.png

Thursday, December 10, 2015

Last Check

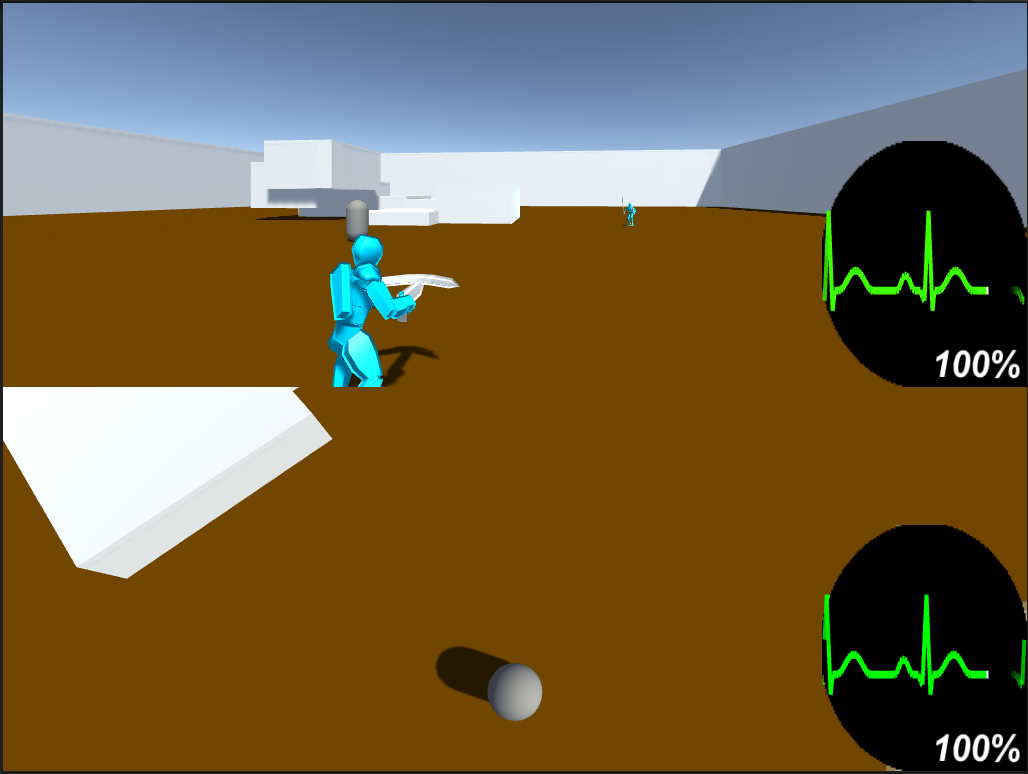
This week I mainly worked on just Wednesday before demo day.  I helped mainly with making sure the animations were in unity. I also helped with cleaning up some of the last minute motion capture animations. Also did some play testing making sure things looked good in engine. The level wasn't uploaded at the time so the scene is pretty bare.


Thursday, December 3, 2015

Running with Style

Strafing. This has definitely been one of the harder animations that I have done. Rather, I thought it was until I looked differently on the situation. My main concern was about the legs when the character does the strafe run. In my head I was picturing the legs crossing over and maybe having the feet turn the direction the character is facing. I actually looked at in game models of characters strafe running. The main example I used was a human for the World of Warcraft. I spent a good amount of time just walking, and observing how these in game models walked; the characters would mainly have their body turned while having their legs/feet in the direction they were moving.